[et_pb_section bb_built="1" admin_label="section"][et_pb_row admin_label="row"][et_pb_column type="4_4"][et_pb_text admin_label="Text"]
In this tutorial we will be discussing how to integrate Facebook Login into your android application. We will create a simple facebook login android application.
There are two ways to implement Facebook login on Android:


LoginButtonclass – Which provides a button you can add to your UI. It follows the current access token and allows people to log in and out.LoginManagerclass – To initiate login without using a UI element.
LoginButton Class to connect to Facebook. Facebook LoginButton element wraps functionality available in the LoginManager. So when someone clicks on the button, the login is initiated with the set permissions. The button follows the login state, and displays the correct text based on someone’s authentication state.
Creating Android Project
- Create a New Android Studio Project by going to File -> New -> New Project.
- Name the Project, give a unique package name and then click next
- Make sure you select Minimum SDK as API 15 : Android 4.0.3 (Ice Cream Sandwich) or higher. This is required for Facebook SDK to function correctly.
- Choose the activity type as Empty Activity and click next.
- Name the activity, We have used LoginActivity as the activity name. Make sure Generate Layout File check box is selected.
Adding Facebook SDK to your project
Add this to Module-level/app/build.gradle before dependencies:
repositories {
  mavenCentral()
}build.gradle file:
dependencies {
  compile 'com.facebook.android:facebook-android-sdk:4.+'
}FacebookSdk into your app.
Creating Facebook App ID
- Go to https://developers.facebook.com/. If you have not registered yourself as a developer yet then facebook will ask you to register as a developer. Simply register as a developer.
- Go to My Apps on the Top Navigation Menu
- Then click add a new app.
- Type you app name in Display Name and choose a category.
- Then click Create App Id button.
- You will see Product Setup screen, then from the left click on Settings menu.

- Click on add a platform and select android.


- Now enter your package name and class name of your main activity and click on save changes. You can find package name in your Android Manifest.

- To generate a key hash then add a temporary code to the
onCreate()ofMainActivityclass.@Override protected void onCreate(Bundle savedInstanceState) { super.onCreate(savedInstanceState); setContentView(R.layout.activity_main); // Add code to print out the key hash try { PackageInfo info = getPackageManager().getPackageInfo( "org.snowcorp.facebooklogin", PackageManager.GET_SIGNATURES); for (Signature signature : info.signatures) { MessageDigest md = MessageDigest.getInstance("SHA"); md.update(signature.toByteArray()); Log.d("KeyHash:", Base64.encodeToString(md.digest(), Base64.DEFAULT)); } } catch (PackageManager.NameNotFoundException e) { } catch (NoSuchAlgorithmException e) { } ... - Save your changes and re-run the app. Check your logcat output for a message similar to this:
03-30 20:49:21.128 784-784/org.snowcorp.facebooklogin D/KeyHash :: aNBo6REy5K3zg6J6cPSLBphq+/s= - Copy the keyhash and enter that to your app settings in facebook and click save.
Add Your Facebook App ID
Add your Facebook app ID to your project and update your Android manifest.- Open your
strings.xmlfile. For example:/app/src/main/res/values/strings.xml. - Add a new string with the name
facebook_app_idcontaining the value of your Facebook App ID:<string name="facebook_app_id">YOUR APP ID</string> - Open
AndroidManifest.xml. - Add a
uses-permissionelement to the manifest:<uses-permission android:name="android.permission.INTERNET"/> - Add a
meta-dataelement to theapplicationelement:<application android:icon="@mipmap/ic_launcher" android:label="@string/app_name" android:theme="@style/AppTheme"> .... <meta-data android:name="com.facebook.sdk.ApplicationId" android:value="@string/facebook_app_id"/> .... </application> - To use Facebook Login or Share, also add the
FacebookActivityto the manifest:<activity android:name="com.facebook.FacebookActivity" android:configChanges= "keyboard|keyboardHidden|screenLayout|screenSize|orientation" android:label="@string/app_name" /> - Enable Chrome Custom Tabs by adding an intent filter to your manifest and a
fb_login_protocol_schemeto yourstrings.xmlfile. When you enable Chrome Custom Tabs, the SDK presents the login dialog in a Chrome Custom Tab instead of a WebView when the Facebook app is not installed. As a result, people do not have to enter their credentials again if they are already logged into Facebook in their Chrome browser.
Add the following in your<activity android:name="com.facebook.CustomTabActivity" android:exported="true"> <intent-filter> <action android:name="android.intent.action.VIEW" /> <category android:name="android.intent.category.DEFAULT" /> <category android:name="android.intent.category.BROWSABLE" /> <data android:scheme="@string/fb_login_protocol_scheme" /> </intent-filter> </activity>strings.xmlfile:
Example:- fb148851038810437<string name="fb_login_protocol_scheme">fbYOUR_APP_ID</string>
Add the Facebook Login Button
The simplest way to add Facebook Login to your app is to addLoginButton from the SDK. The LoginButton is a UI element that wraps functionality available in the LoginManager. When someone clicks on the button, the login is initiated with the permissions set in the LoginManager. The button follows the login state, and displays the correct text based on someone's authentication state.
To add the Facebook Login button, first add it to your layout XML file with the full class name, com.facebook.widget.LoginButton:
<com.facebook.login.widget.LoginButton
    android:id="@+id/login_button"
    android:layout_width="wrap_content"
    android:layout_height="wrap_content"
    android:layout_centerHorizontal="true"
android:layout_alignParentBottom="true" />Login button and register a callback in your onCreate()method. Properties you can customize includes LoginBehavior, DefaultAudience, ToolTipPopup.Style and permissions on the LoginButton. For example:
public class MainActivity extends AppCompatActivity {
private LoginButton loginButton;
private CallbackManager callbackManager;
@Override
protected void onCreate(Bundle savedInstanceState) {
    super.onCreate(savedInstanceState);
    setContentView(R.layout.activity_main);
    ....
    loginButton = (LoginButton) findViewById(R.id.login_button);
    loginButton.setReadPermissions("public_profile", "email", "user_friends");
    callbackManager = CallbackManager.Factory.create();
    // Callback registration
    loginButton.registerCallback(callbackManager, new FacebookCallback<LoginResult>() {
        @Override
        public void onSuccess(LoginResult loginResult) {
            // App code
        }
        @Override
        public void onCancel() {
            // App code
        }
        @Override
        public void onError(FacebookException exception) {
            // App code
        }
    });
...callbackManager.onActivityResult to pass the login results to the LoginManager via callbackManager.
@Override
protected void onActivityResult(int requestCode, int resultCode, Intent data) {
    super.onActivityResult(requestCode, resultCode, data);
    callbackManager.onActivityResult(requestCode, resultCode, data);
}
Final Step
Getting User data by Using the Graph API. The Graph API is the primary way to get data in and out of Facebook's social graph.- Add a ImageView in your layout for user's profile picture.
<ImageView android:id="@+id/user_pic" android:layout_width="wrap_content" android:layout_height="wrap_content" android:scaleType="centerCrop" android:background="@drawable/border" /> - Add some TextView for User's name, email, etc...
<TextView android:id="@+id/name" android:layout_width="wrap_content" android:layout_height="wrap_content" android:layout_margin="10dp" android:textSize="25sp"/> <TextView android:id="@+id/email" android:layout_width="wrap_content" android:layout_height="wrap_content" android:layout_margin="10dp" android:textSize="17sp" /> - Go to your MainActivity.java and add the following code to onSuccess() method of registerCallback.
We are using Glide library for display User's profile picture. For adding Glide library to your project add below code to build.gradleGraphRequest request = GraphRequest.newMeRequest(loginResult.getAccessToken(), new GraphRequest.GraphJSONObjectCallback() { @Override public void onCompleted(JSONObject object, GraphResponse response) { Log.e("response: ", response + ""); try { String KEY_UID = object.getString("id"); String KEY_EMAIL = object.getString("email"); String KEY_FIRSTNAME = object.getString("first_name"); String KEY_LASTNAME = object.getString("last_name"); String KEY_PROFILE_PIC = "https://graph.facebook.com/" + KEY_UID + "/picture?type=large"; userName.setText(KEY_FIRSTNAME + " " + KEY_LASTNAME); userEmail.setText(KEY_EMAIL); Glide.with(getApplicationContext()) .load(KEY_PROFILE_PIC) .diskCacheStrategy(DiskCacheStrategy.SOURCE) .centerCrop() .transform(new CircleTransform(getApplicationContext())) .into(userPic); } catch (Exception e) { e.printStackTrace(); } } }); Bundle parameters = new Bundle(); parameters.putString("fields", "id, first_name, last_name, email"); request.setParameters(parameters); request.executeAsync();compile 'com.github.bumptech.glide:glide:3.7.0' - sync your project and run your app.
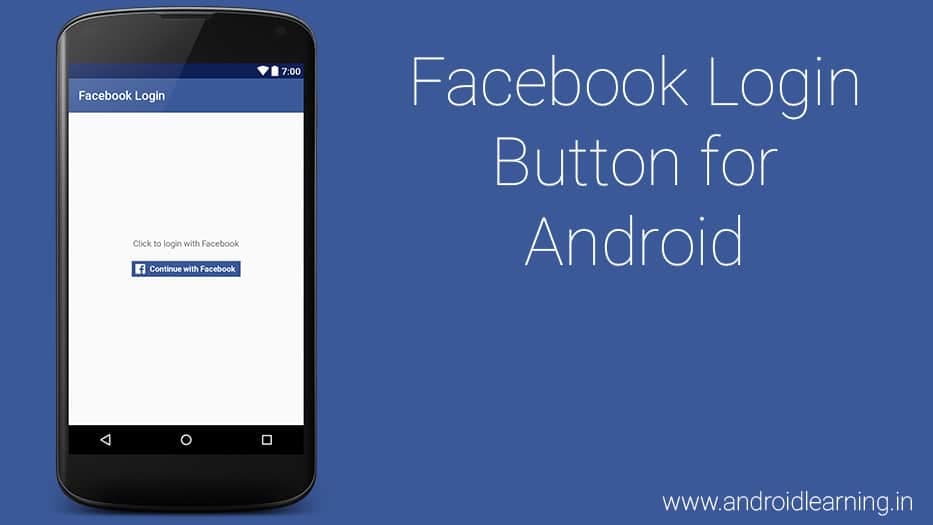
Screenshots